
Click here to read Birch Tree Art for Kids with Tape Resist on Hands On As We Grow®
This tree art is so simple to do! Tape resist is the secret!
I found these beautiful Birch tree paintings on Art Projects for Kids and decided we’d have to make them too! We added some embellishments too!
I set up this art activity first by getting the art paper out and taped it to the table.
I actually spent some time getting the tape on squarely and evenly, so there would be a nice white border around the tree art when it was finished.

Henry helped do the taping. We tore pieces of painter’s tape into long strips to make the trunk and branches of the trees.
Henry struggled with tearing a piece long enough to be a trunk, so I helped him with his tree trunks.
He only wanted two trees. And he was very proud of his placement of branches.

I taped George’s trees because he was still napping. I asked him to join in painting when he woke up, but he was in one of his moods (very much similar to his night terrors)… so I ended up making my own tree art with Henry! It was so enjoyable to paint with him!
You could use watercolors to paint, but I’m always using whatever we have on hand. And that’s water and food coloring.
A few drops of blue food coloring with just a tad bit of water (maybe a tablespoon) worked perfectly. Then we painted over our taped trees to cover the entire paper.

After its painted, its time for the fun part of removing the tape! Henry didn’t want to wait for the paint to dry, but it peeled off fine.
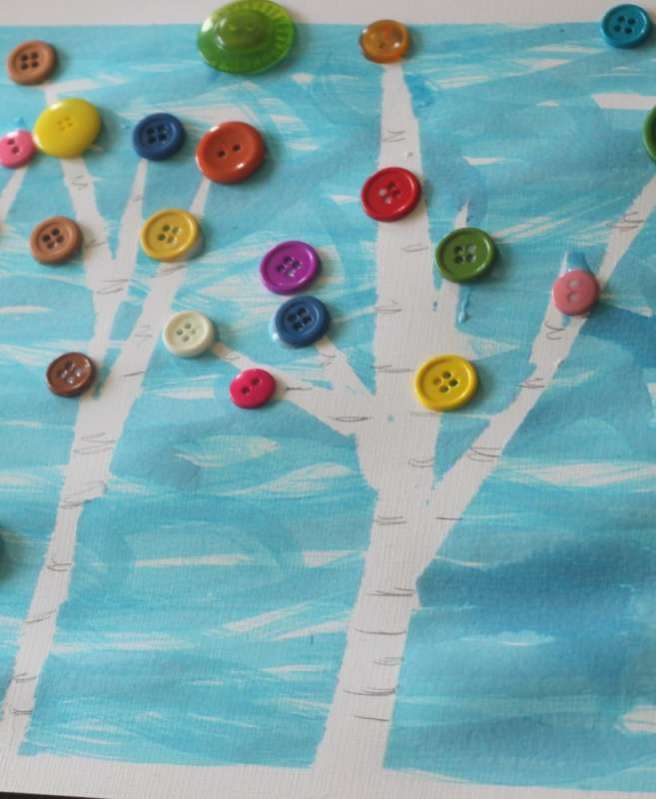
Then you can add pencil marks across the tree trunks to make it look more like a Birch tree.

We glued on buttons to be leaves and add some fun color to it too! I love how they turned out!
And the border that I made with the tape makes it look so much more ‘official’ or professional, don’t you think?

For more tree activities, art and craft ideas, Fantastic Fun and Learning has 45 tree activities for kids!
Trending Products
